 |
| Sorry, the photo just doesn't do any justice to the work. |
I was never able to get a good photo from him but I did find one I snapped with my phone. It's poorly shown above zoomed and processed.
Admiring his army very much I decided I'd make an attempt. I've resisted getting an airbrush for various reasons and as such have been rather slow to paint late war German vehicles. I have an entire German Armor company I am working on and some Open Fire StuG's that have been sitting in Dunkelgelb for more than a year that are badly stalled because of my caution to paint late war camouflage without an airbrush.
Never the less I wanted to give this a try on a single vehicle and I thought I could give it a go as a support vehicle for my 15mm German Bolt Action force. I chose a recon vehicle with the HE (High Explosive) stat for extra pinnig power, the SdKfz 223. I even found a picture of the Fallschirmjager riding with the reconnaissance battalions in Italy as some sort of historical justification for having it in the list.
 |
| shhhh! My FJ force is for Normandy not Italy...and that's an MG not the cannon version |
 |
| Lots of extra colors for the kids |
 |
| It's going to have to be close enough. |

The model is primed black, drybrushed with Vallejo Middlestone several coats and highlighted with 50/50 Middlestone/Buff. Now take your powdered chalk and paint/stipple on the camouflage pattern you want.

Here is where I thought this was a partial fail. The chalk just didn't stick as well as I'd hoped and was not bold enough for my taste. To fix that I took some paint (Reflective Green and Camo Medium Brown) and did a very small amount of stippling in the center of each swath of camo ala Jon of WWPD's method. I think that helped to correct the color a bit as well. That is followed up by a overall magic wash (brown ink with Future floor polish), decals, details, crew, and minimal weathering with acrylics. I also tried for some dramatic edge highlights that I thought came out pretty good.
 |
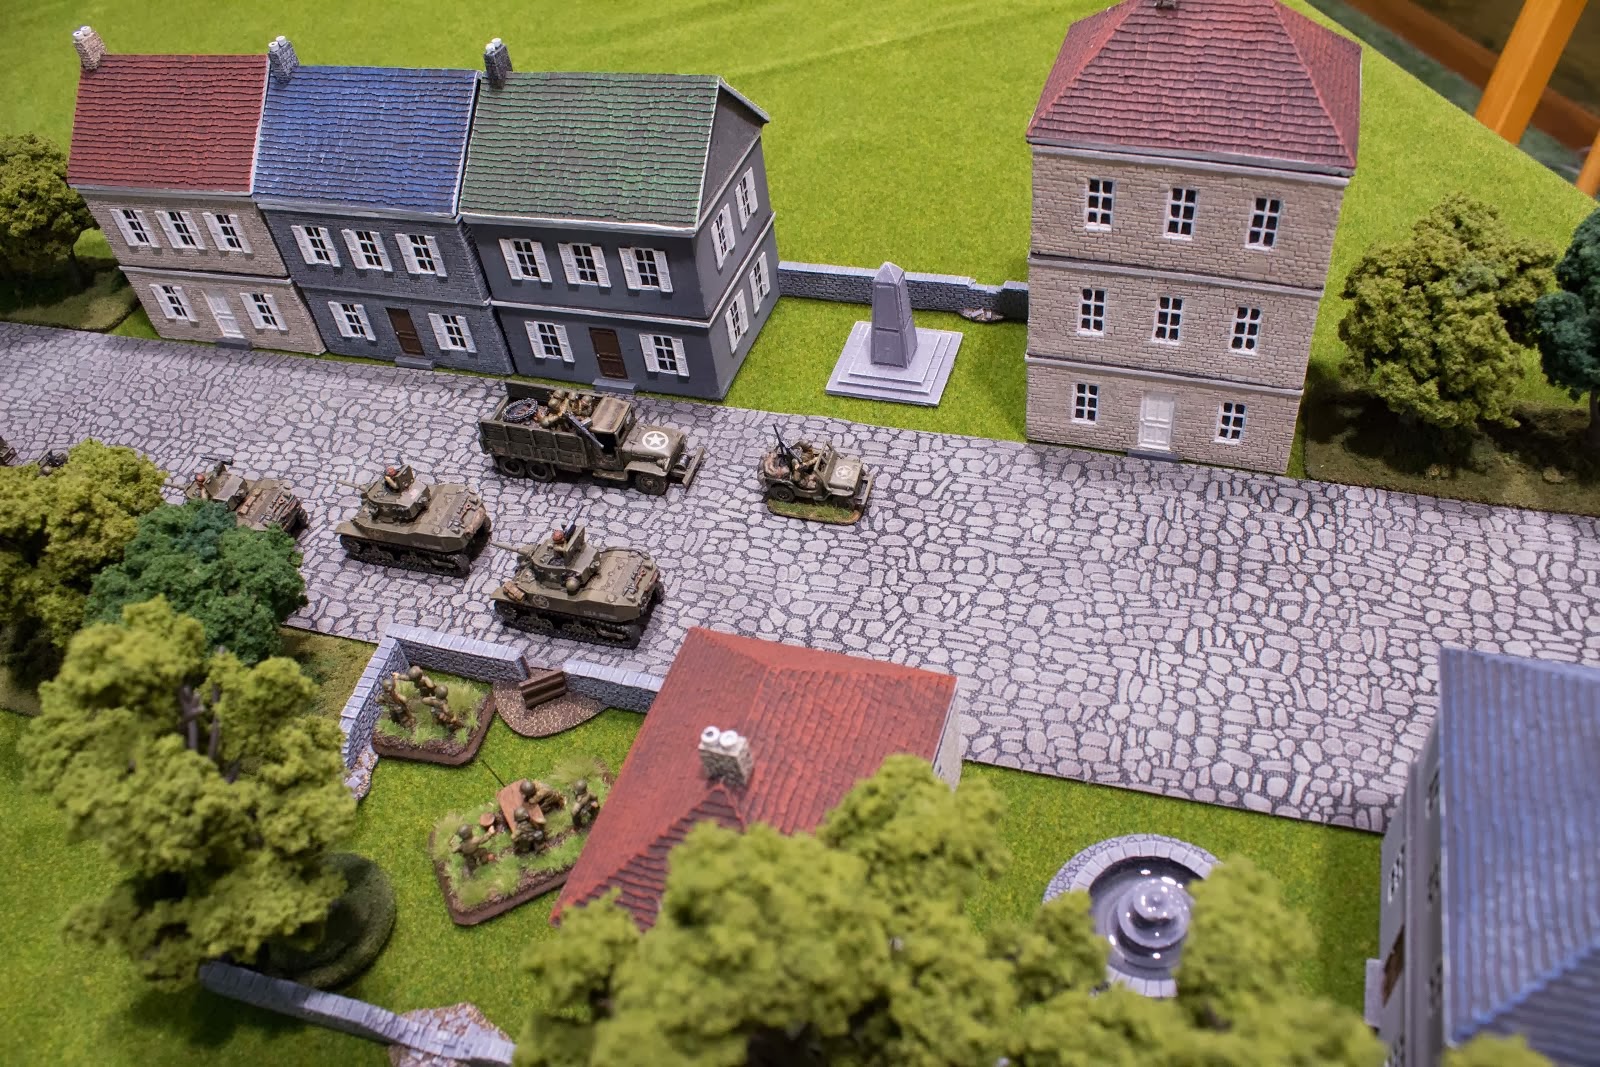
| A little HE coming soon to the Bolt Action table |
 |
| The wheel is NOT crooked, the terrain is uneven |
 |
| It's a very soft and worn look, perhaps I should add some chipping next time |
That's it, not too exciting but a method that I think has some potential. I'm unsure if it would be any easier than the WWPD technique but I think it might be a little more forgiving than the all acrylic's method. I think the stubby brush is the way to go along with mostly stabbing and stippling for the effect.
I'm back to painting a bit and am working on a few more posts so I hope to have some more to share very soon. Be sure to add this blog to your reader and drop me a note (even if you hated it). Stay tuned.